Rock Pi 4B Setup
Today, I setup my first Rock Pi 4 Model B with Armbian to get Ubuntu Focal on the eMMC. I've made some steps that anyone can repeat to get the same setup.
Requirements
- Rock Pi 4 Model B
- Armbian (Armbian_21.08.1)
- SD Card
- Power Cable
- Network access
Step 1 - Loading the image:
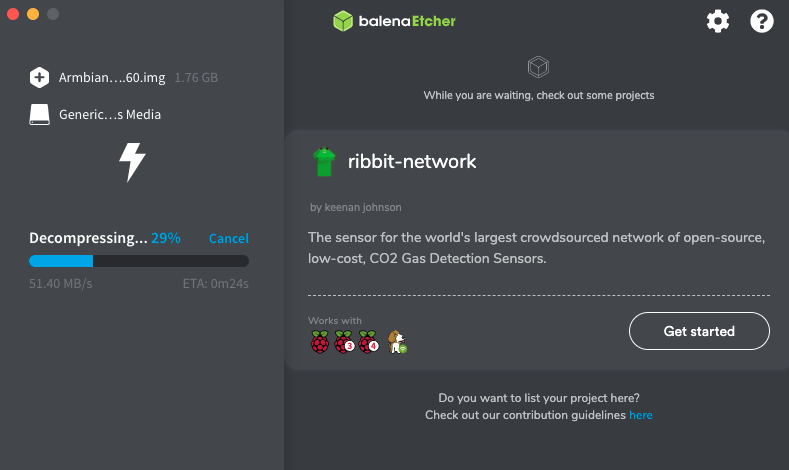
Grab the latest armbian image for rock pi 4 model b. I am using Armbian_21.08.1_Rockpi-4b_focal_current_5.10.60.img from the Armbian archive website.
Following the guide on the armbian website (https://docs.armbian.com/User-Guide_Getting-Started/) I was able to load the image to an SD card using balenaEtcher :
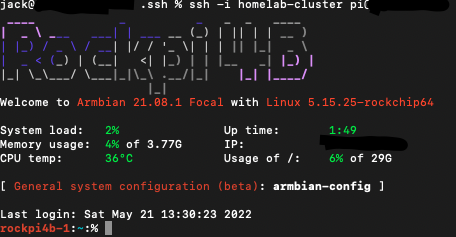
Step 2 - Booting the rock pi
Powering up the Rock Pi and plugging in a keyboard and HDMI cable to the monitor, you should be greeted with the Armbian boot. Once boot is complete you can login with the root account and password 1234.
Change the root password to something secure and next you'll be creating a second account which will be used for login instead of root.
With that complete, update and upgrade the system with:
apt-get update && apt-get upgrade
I had some issues with SSL certs so after I ran a update-ca-certificates and ran apt-get update && apt-get upgrade again.
Step 3 - Loading to eMMC (optional)
The Rock Pi 4 B I have come with eMMC built onto the device so I am going to load the Armbian OS straight onto there and reuse the SD card for subsequent installs.
Running nana-sata-install, I got presented with options to install to eMMC or to load the bootloader to eMMC. For this, I am just installing the OS to eMMC and not touching the bootloader.
I was asked to power off, so I turned it off and removed the SD card.
Step 4 - Installing SSH keys
Now that I have the Rock Pi setup to run Armbian, next its a case of installing the SSH Keys to the profile so I can remote connect. I've generated some SSH keys on my Mac already but I use different keys for different services so I generated some new ones for use in the homelab:
ssh-keygen -t ed25519 -a 200 -C "[email protected]"
For some information on securing your keys and trying to make better decisions on ssh keys, I recommend a read of: https://stribika.github.io/2015/01/04/secure-secure-shell.html
I'm also using ed25519 for a keys as it is a smaller key and uses newer encrypting methods.
Now I have my key I am going to add the public key to my user I created on the Rock Pi.
ssh-copy-id -i $HOME/.ssh/my_key.pub

Test the key and make sure sure that log in successful!